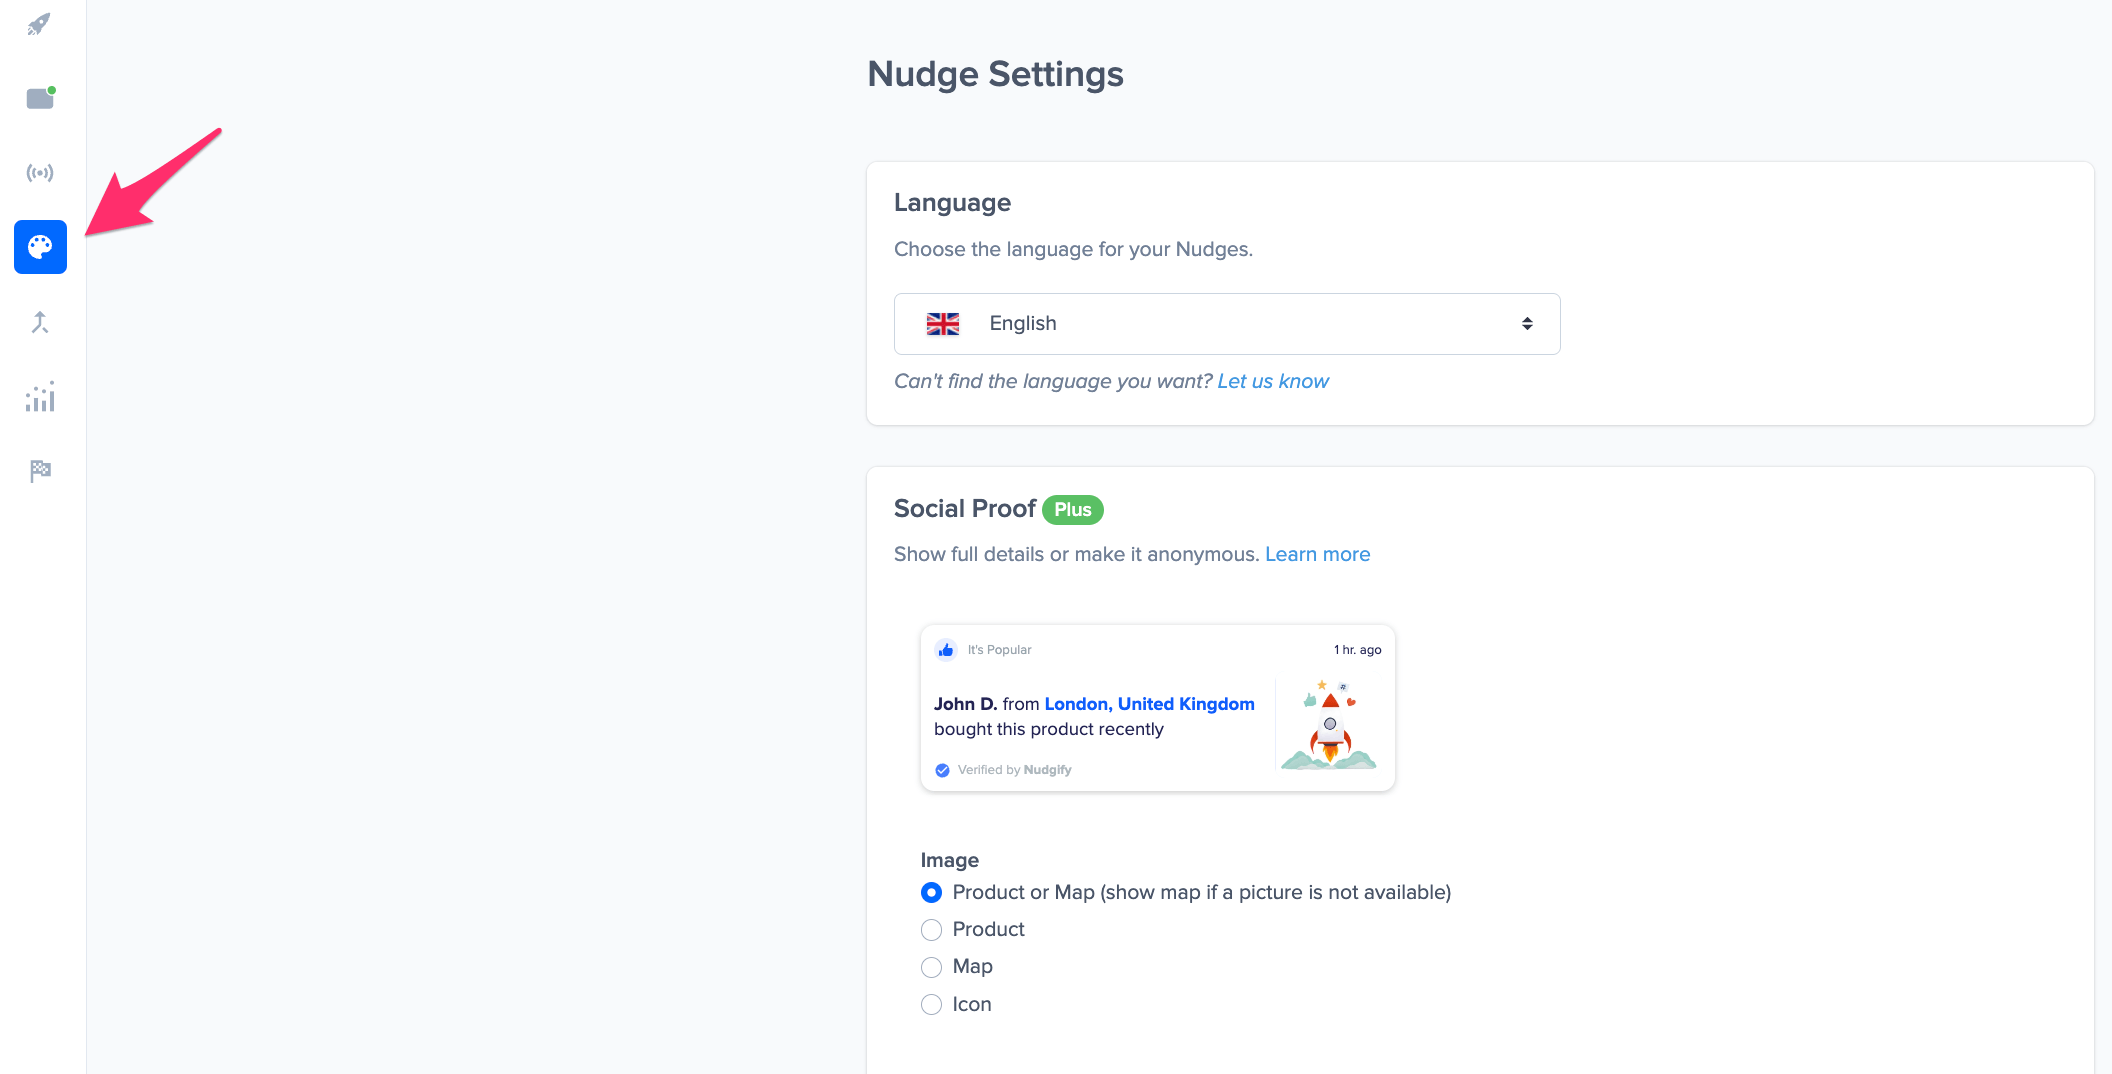
In your Nudge Settings, you can choose the language and details of your Nudges. They allow you to make sure your Social Proof notifications suit your website and the way you want to talk to customers. These settings will apply to all the Nudges you use on your website.
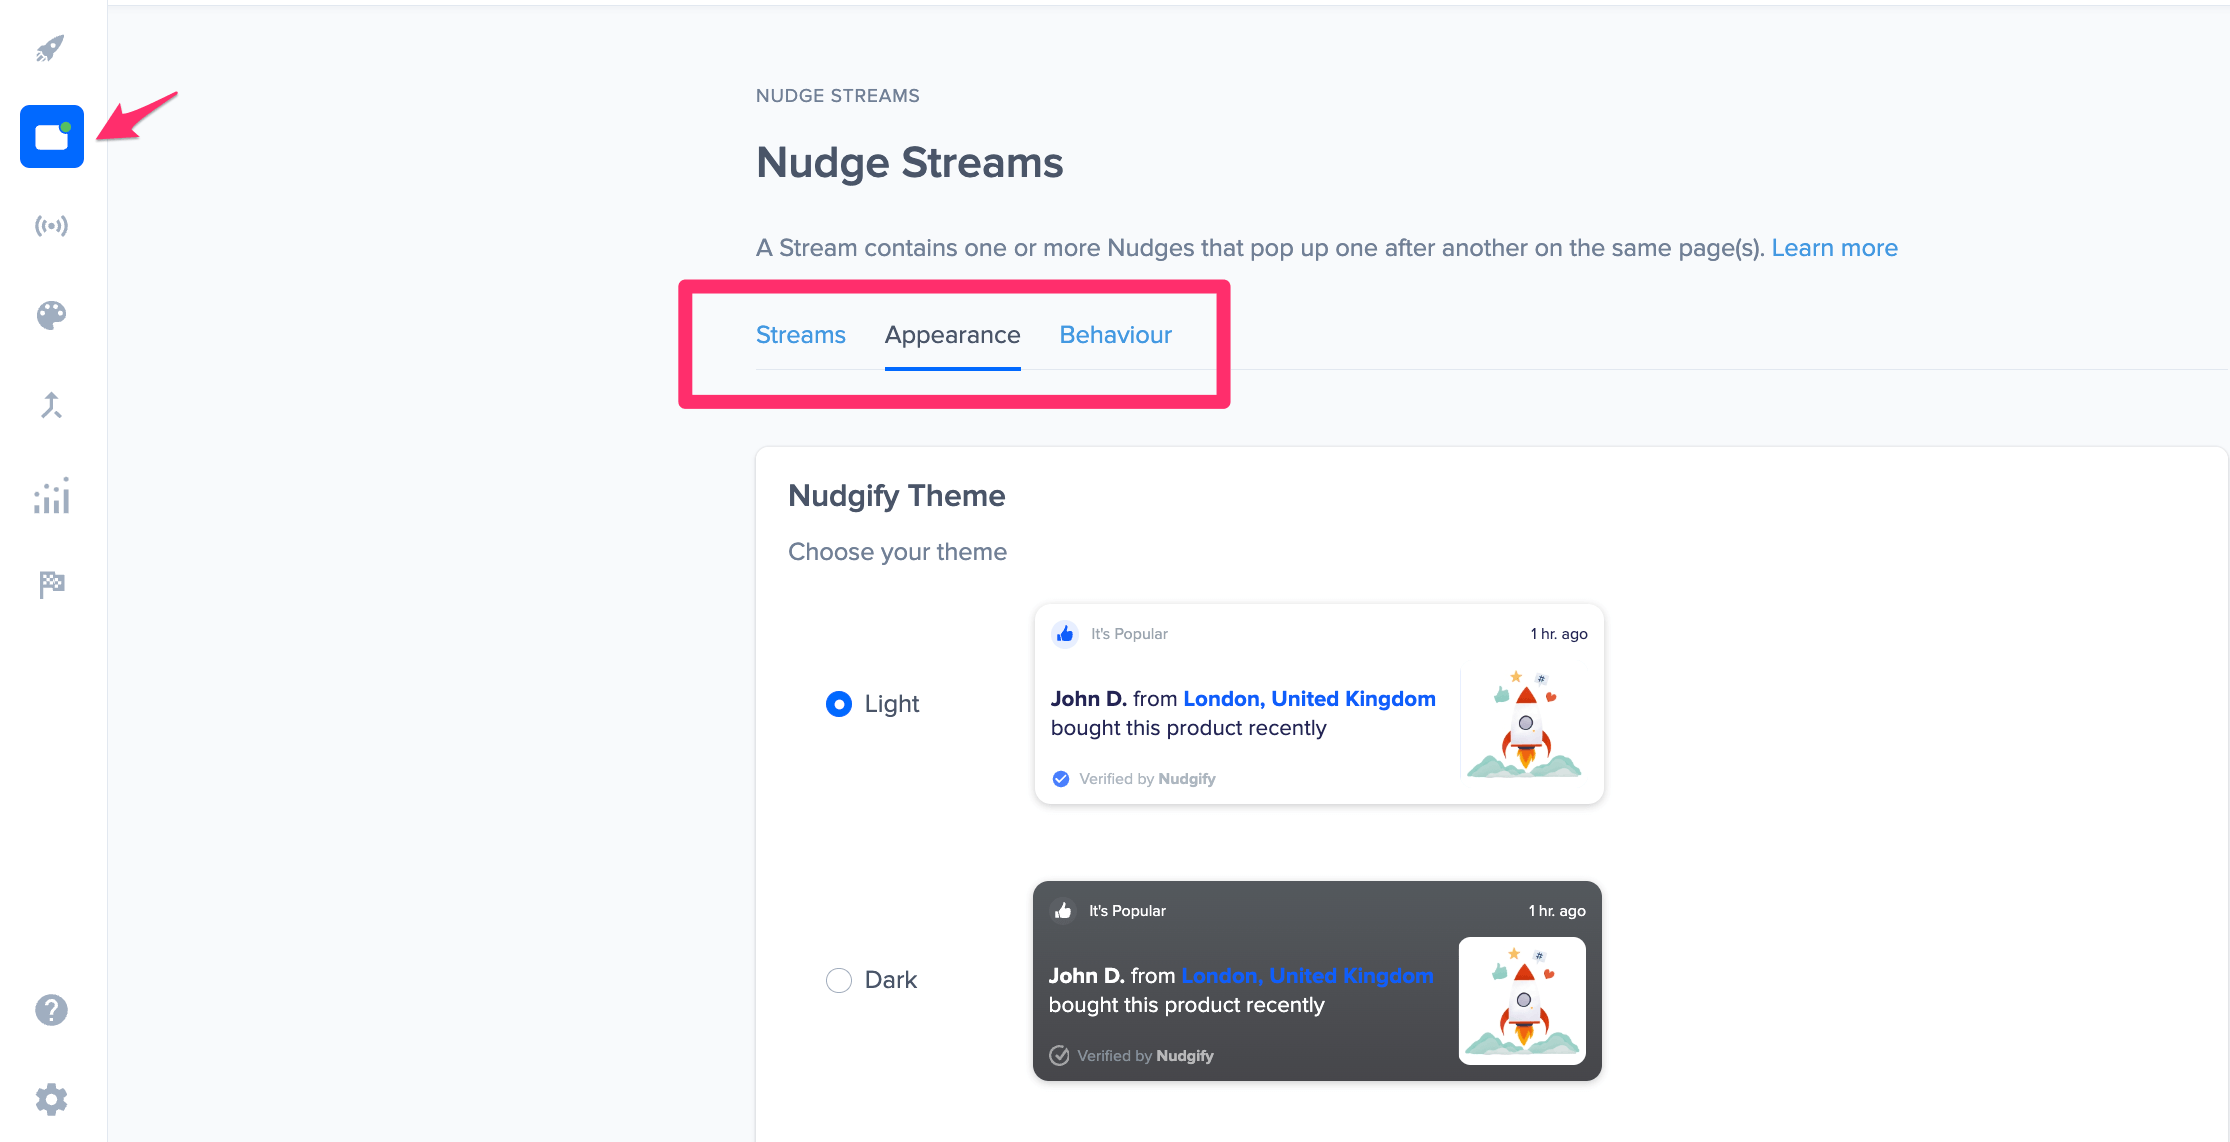
You can also customize the appearance and behavior of your nudges when creating or editing your streams, to match your brand. By customizing the app to your preferences, you can create a personalized experience that is tailored to your needs.
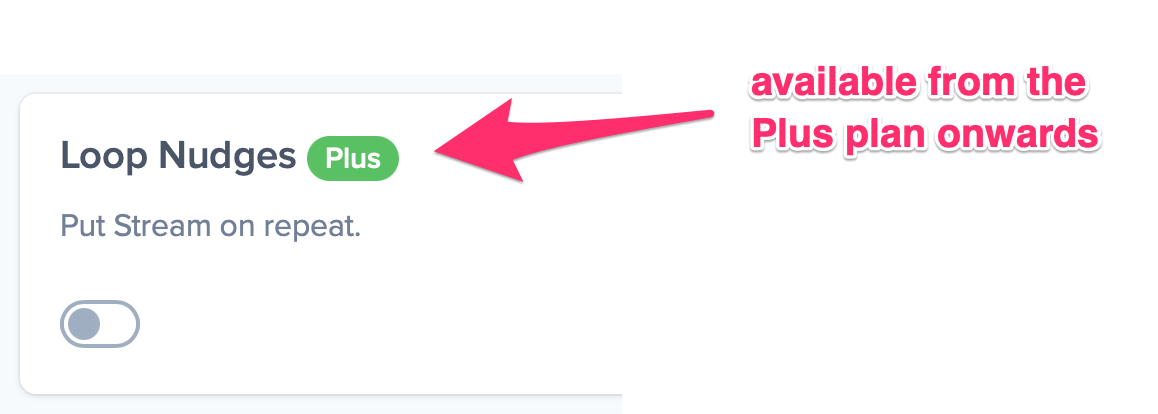
Some of the settings are available for all plans, others are restricted to our larger plans. If a setting is restricted to certain plans, this is indicated with a green box displaying the smallest plan the feature is available from.
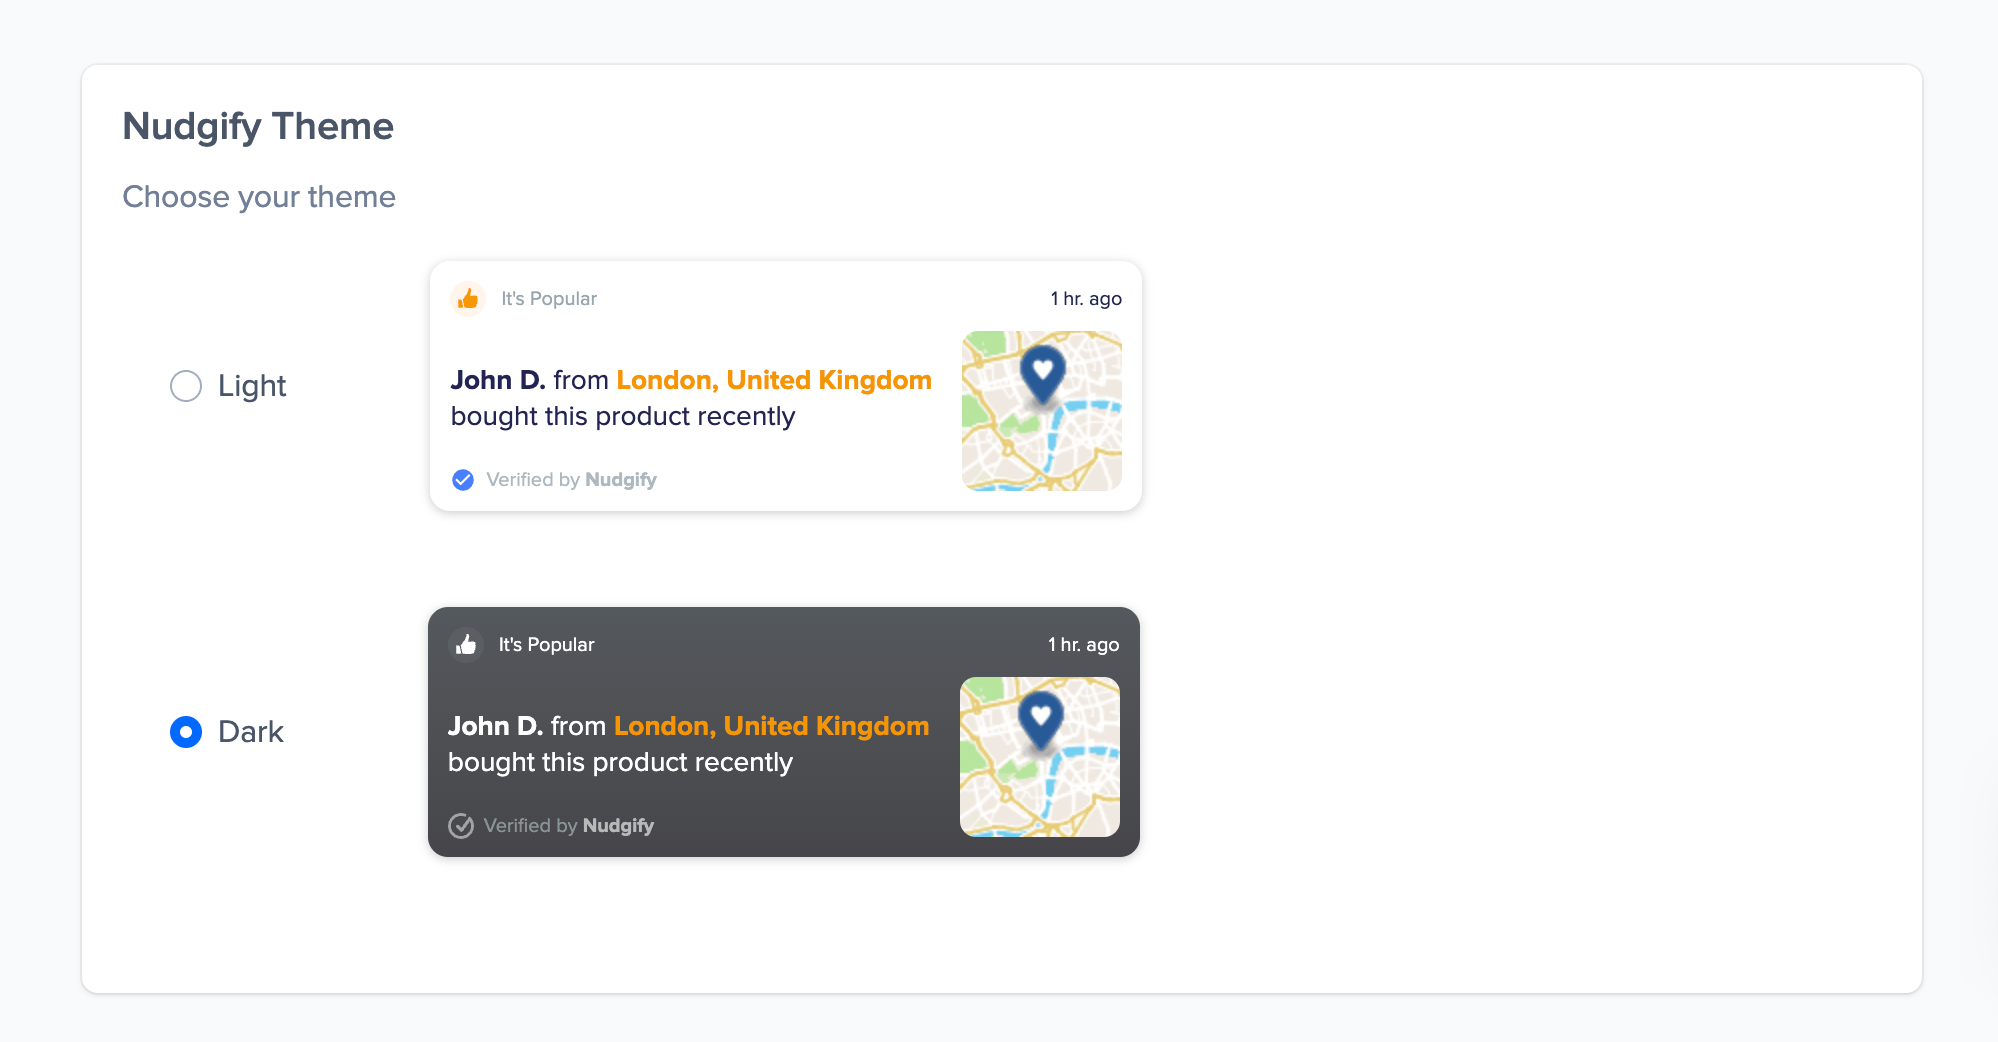
Choose a theme
Choose if you want to show Nudges with a light or a dark background. You can find this setting in the Appearance tab located in the Nudge Streams.
Select a highlight color
In the highlight color you choose, applies to your hyperlinks and the icons you use. You can find this setting in the Appearance tab located in the Nudge Stream.

Select a position
Decide where your Nudges should appear. Most websites use Nudges in the bottom-right corner. You can find this setting in the Appearance tab when you go to Nudge Streams.
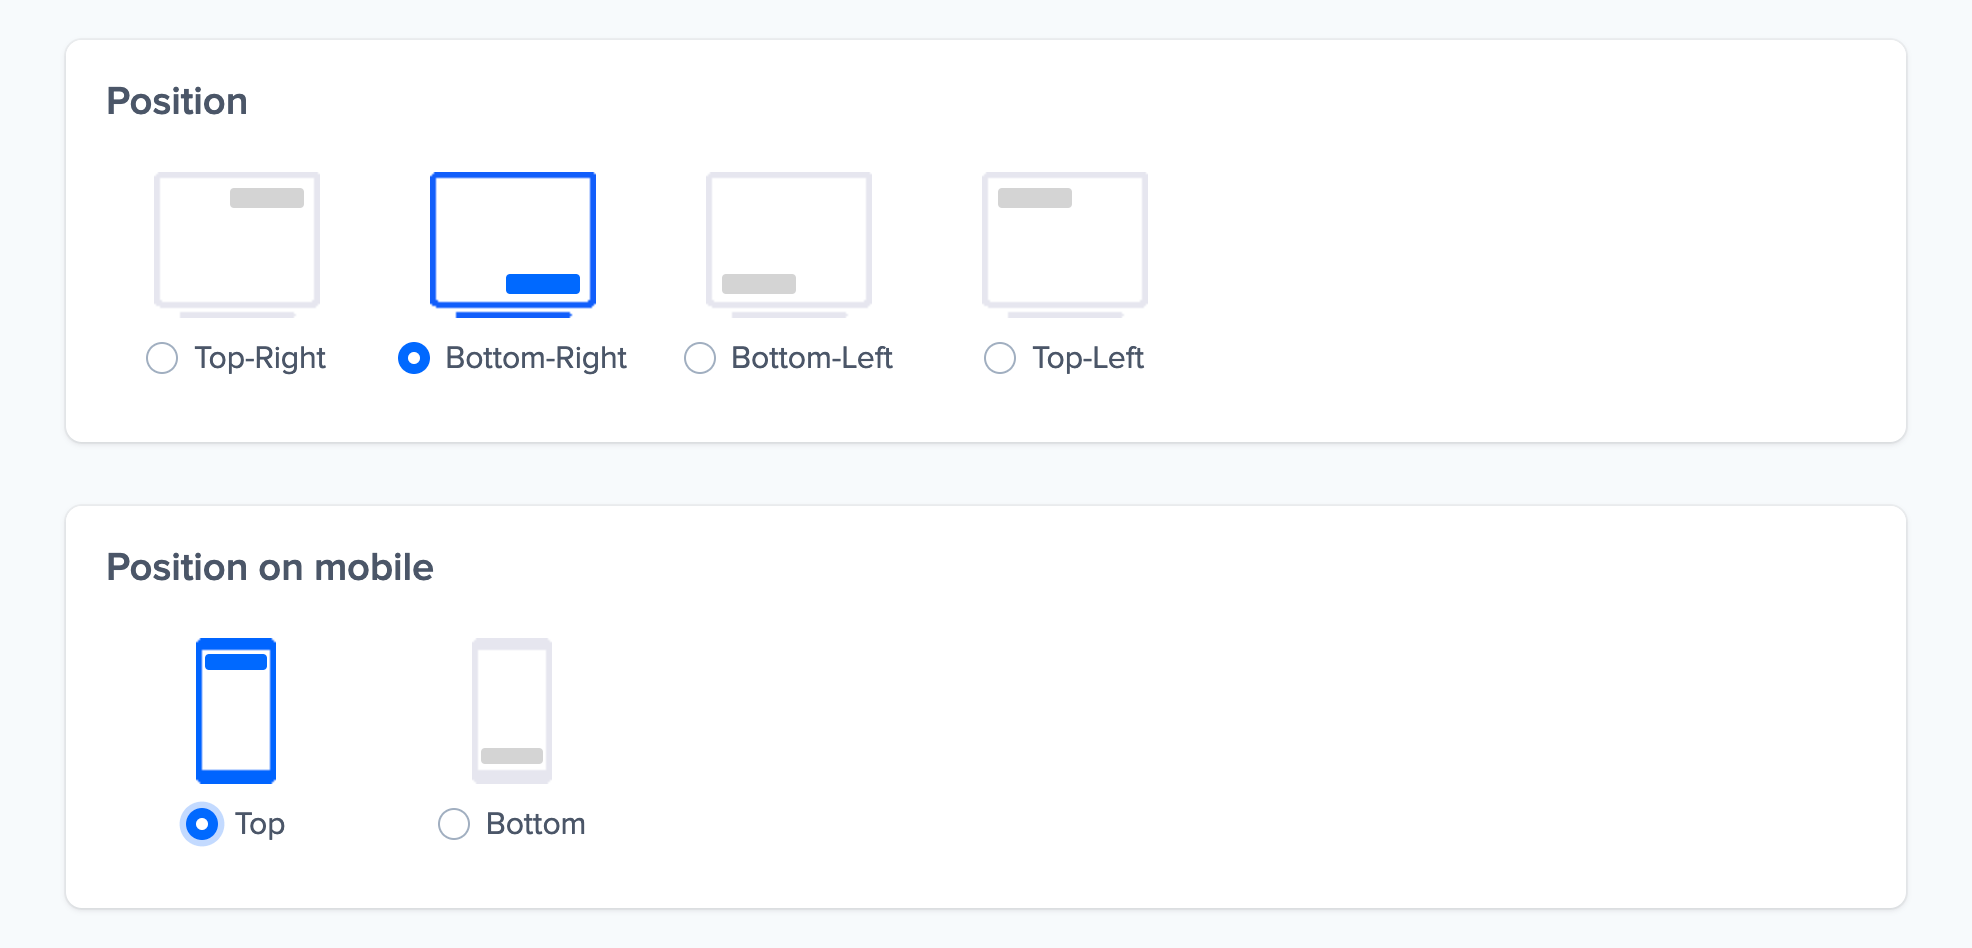
To avoid overlapping with the other plugins that you are using, you can experiment with different positions and adjust the vertical and horizontal offset.

Select an animation style
You can adjust the way your Nudges appear by choosing which kind of animation to use. You can find this setting in the Appearance tab located in the Nudge Streams.

Show only visitors with location
On your Nudge settings, under the behaviour tab, you can decide on if you want to allow visitors without location display on your nudges, or if you want to only display visitors with a defined location.

By default, this feature is enabled, which means that the nudges that will be shown to your audience are those that contain the location data. Hence, Nudges without the location data will be hidden to your audience.
Adjust timings
In the Behaviour tab found in the Nudge Streams, you can adjust how long Nudges show, how quickly they appear after one another and add an initial delay to your Nudges.

With Standard timings, the first Nudge shows after 3 seconds, each Nudge is displayed for 6 seconds, and the time between Nudges amounts to 5 seconds.
With Accelerated timings, the length of all timings is 75% of the Standard timings.
When selecting Custom timings, you can manually choose the display time, the time between two Nudges, and the delay for the initial Nudge.
You can display each Nudge for at least 5 and up to 30 seconds. The time between two Nudges has to be somewhere in between 1 and 60 seconds. And finally, you can decide when you want to show your first Nudge between 0 and 10 seconds after the visitor has opened your website.

Loop Nudges
Decide whether you want to put a Stream on repeat by toggling the “Loop Nudges” button. You can find this setting in the Behaviour tab. You can also find this tab in the Nudge Streams.
Your Nudges are shown on your website in the order that you have arranged them in your Nudge Stream(s). When you toggle the “Loop Nudges” button, your first Nudge in the Stream will begin to show again after the last Nudge of that Stream has been shown to this unique visitor. This will go on until the visitor has left your site again.
This function is helpful if you only have a limited number of Nudges per Stream or if the visitors on your website have a considerably long browsing session.

Close Nudges
Decide whether you want to let customers close your Nudge by toggling the “Close” button. You can find this setting in the Behaviour section of your Nudge Streams.
This will allow the visitors of your website to close your Nudges. When they hover over your Nudges, a small cross in the top right will show up with which they can click the message away.

This close button can either close that particular Nudge only (the next Nudges will show up after the visitor clicks the close button), or dismiss all Nudges for the rest of the visitor’s browsing session (the visitor won’t see any more Nudges after they have closed one). It’s up to you!
We define a browsing session as follows:
a continuous period of user activity on the site, where successive events are separated by no more than 1 hour.
In practice, this means that as long as the visitor browses your site without taking breaks that are over 1 hour, they stay in the same session. When a visitor leaves and returns after more than 1 hour, a new session starts.
Enabling the close button can be helpful if your pop-up Nudge covers an area of your website that your visitor might want to read, or if you want to avoid visitors getting overwhelmed with Nudges.
Limit Nudges per session
In the Behaviour tab of your Nudge Streams you can set a Nudge limit per session. This allows you to limit the number of Nudges a visitor sees during their browsing session.
By default, we show your visitors an unlimited number of Nudges. To set a limit, toggle the button ON. Now enter the maximum number of Nudges you want to show in the text field. You can enter any number from 1 to 99. Toggle the button off again if you wish to show an unlimited number of Nudges.

We define a session as follows:
a continuous period of user activity on the site, where successive events are separated by no more than 1 hour.
In practice, this means that as long as the visitor browses your site without taking breaks that are over 1 hour, they stay in the same session. When a visitor leaves and returns after more than 1 hour, a new session starts.
Randomize Nudges
If you add multiple Nudges to a Nudge Stream, you might want to show your Nudges in random order. This way, visitors do not always see the same Nudge first when a new page loads. This feature is available on the Plus, Genius, and Agency plans. Just toggle the option ON to randomize the order of your Nudges.

Make your Social Proof Nudges more anonymous
The Popularity and Recent Activity Nudges collect and shows information about your visitors. By default, Nudgify shows the location of visitors, and for each recent activity, it also shows the name and product.
On the Plus, Genius, and Agency plans, you can change these default settings and make your Social Proof Nudges more anonymous. You can do this in the Nudge Settings tab.
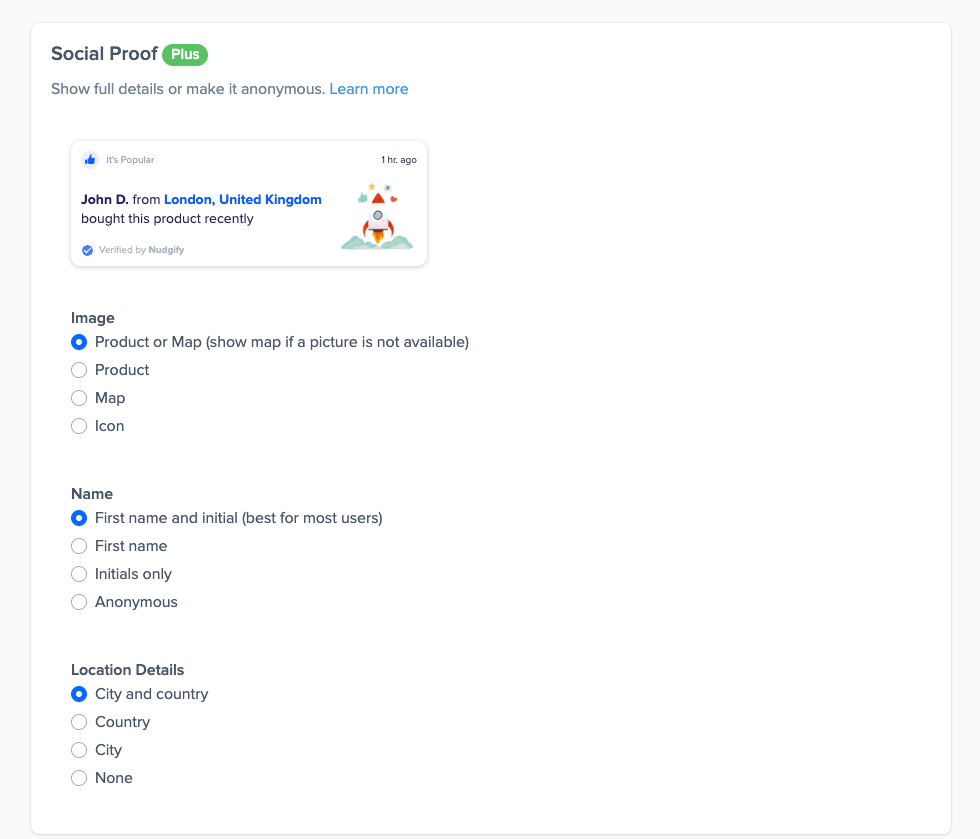
Find out more about making your Social Proof Nudges more anonymous.
Remove the Nudgify branding
On the Genius and Agency plans, you have the option to remove the Nudgify branding. You can do this in the Appearance tab in the Nudge Streams. Scroll down to ‘Nudgify branding’ and toggle off to remove the branding.
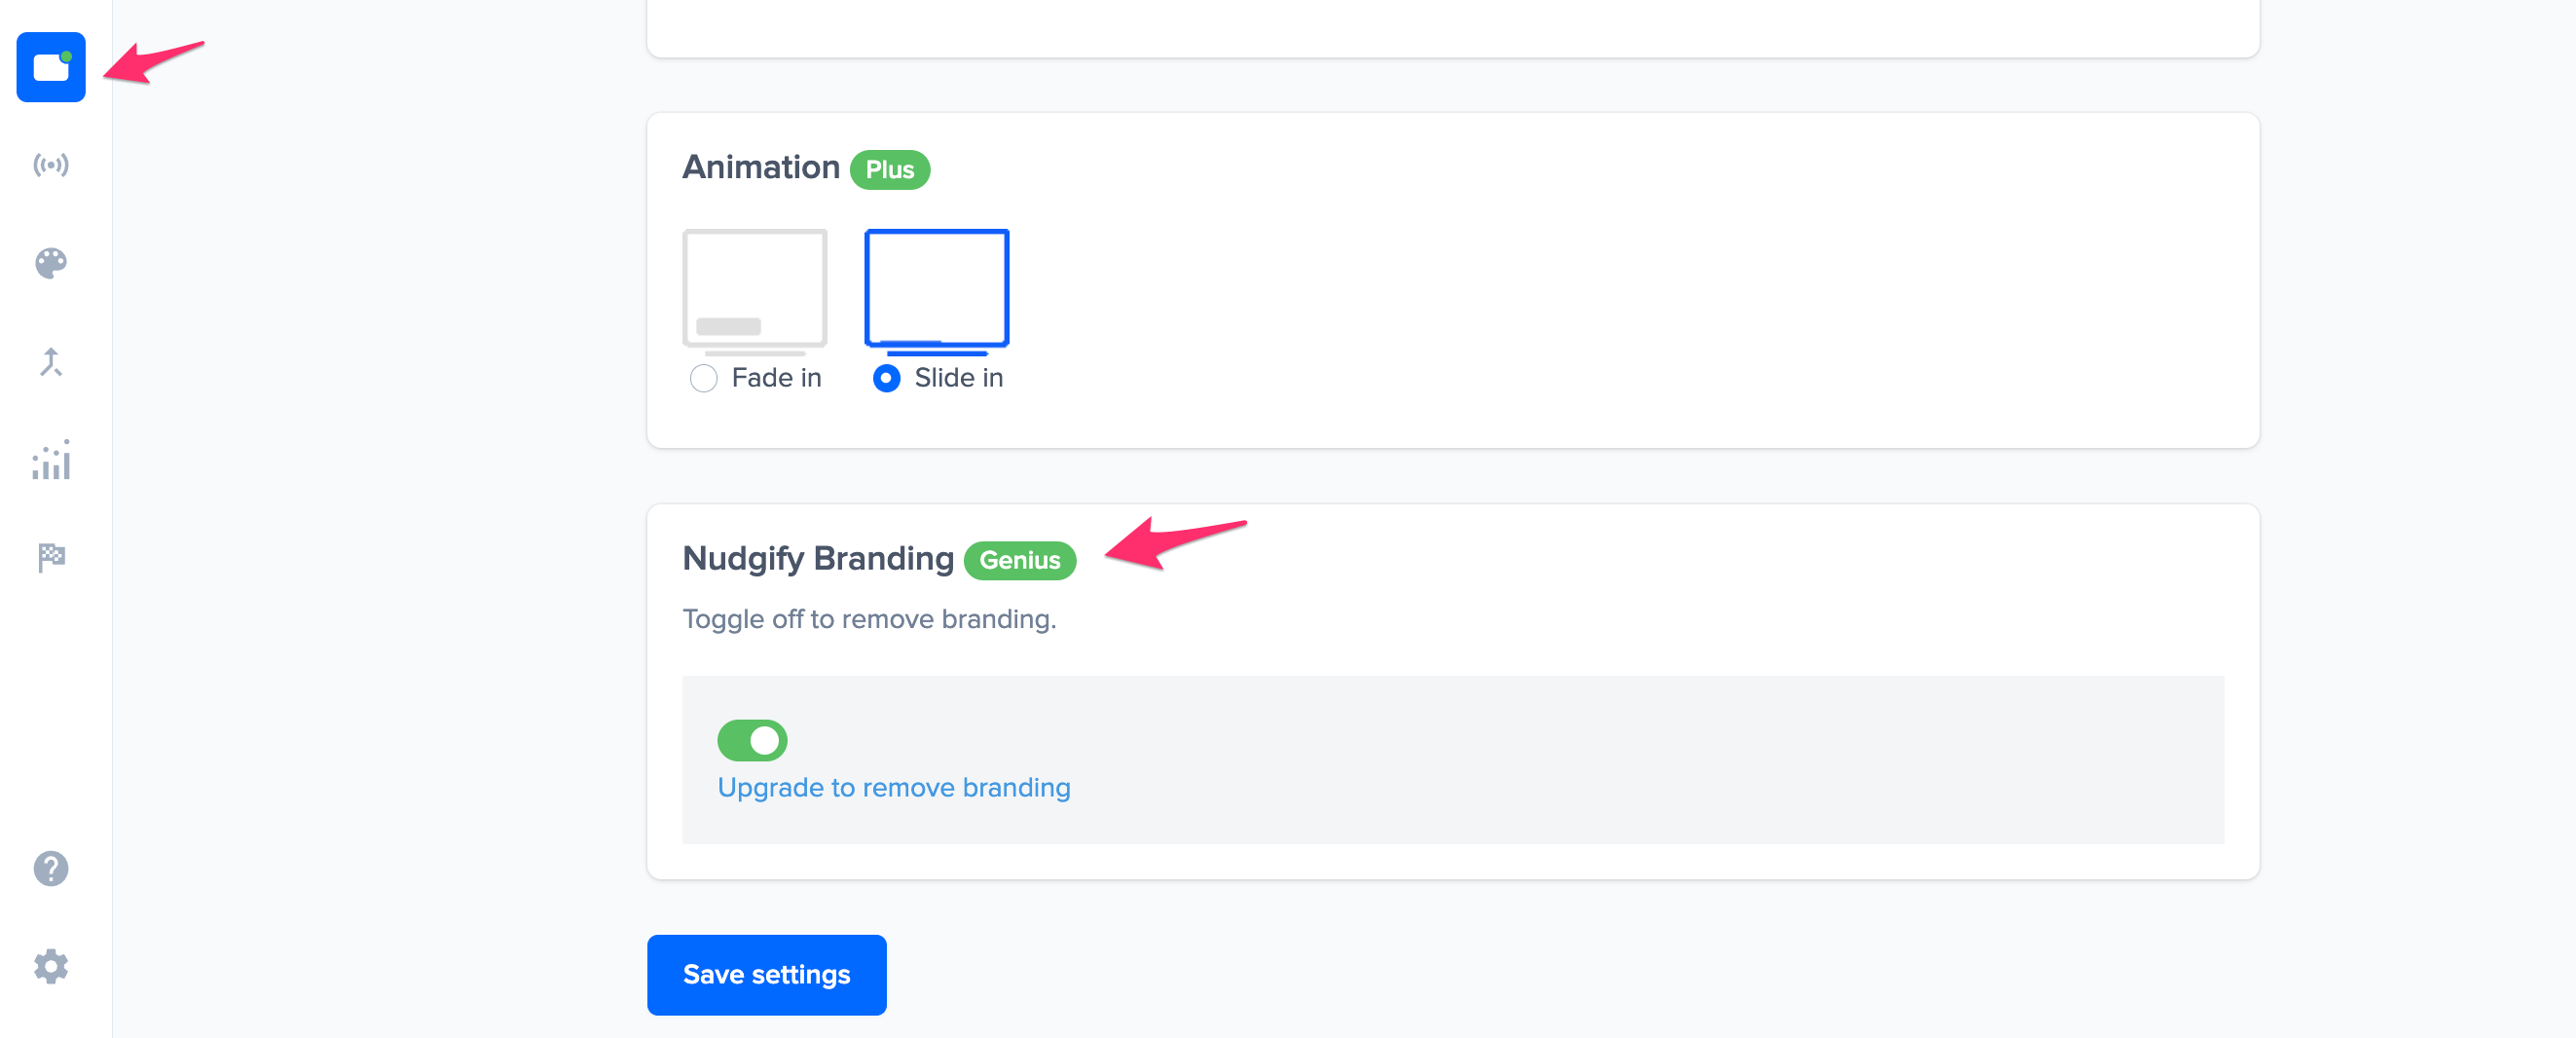
Edit your Nudge Titles
You can also edit your nudge titles or choose to disable them all together from your nudges on the Genius and Agency plans. To do this, navigate to the Appearance tab in the Nudge Streams and scroll all the way down to just after ‘Nudgify Branding’.
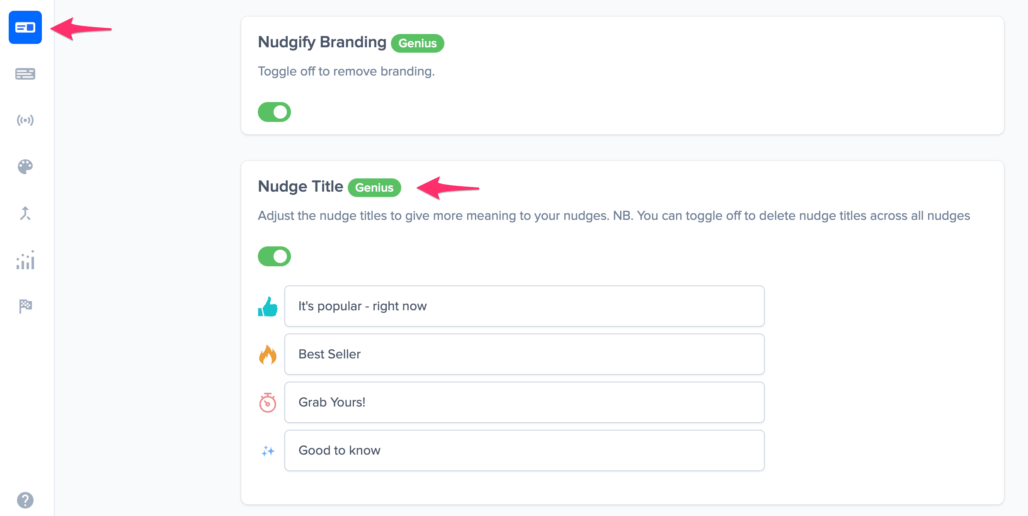
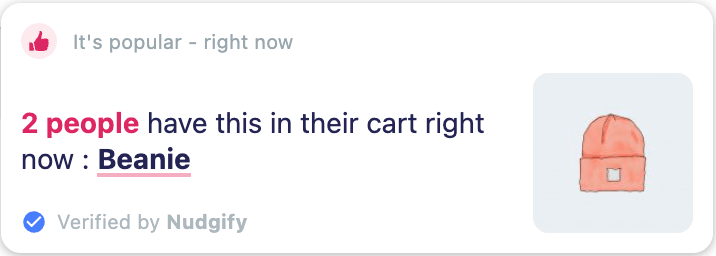
You can change preset social proof, FOMO, urgency and friction nudge titles like ‘It’s popular’, ‘Order soon’, ‘Selling fast’ and ‘Good to know’ to whatever you like – within a 40 character limit, so your nudges still look good.
NB. This feature doesn’t apply to review nudges since nudge titles are the review platform names (Google, Capterra, Yelp etc) and lend credibility to your reviews.
Choose a language
Nudgify displays notifications in 32 languages. In the Nudge Settings tab, you can select the language you need.

